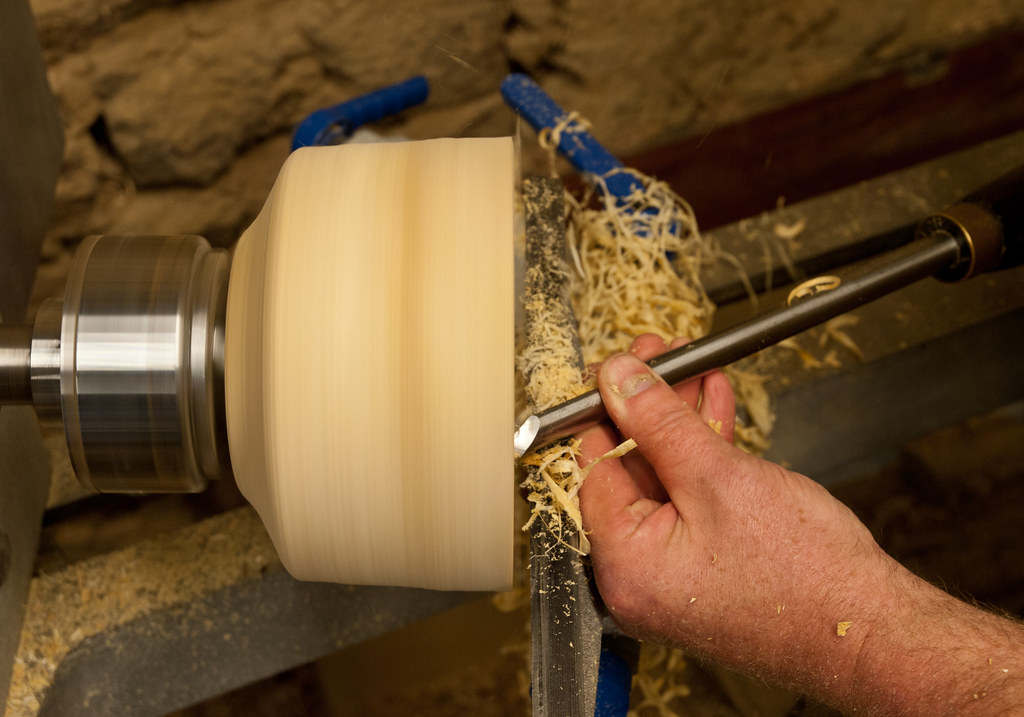
There are many wood turning videos. But which are the most worth your time? These are four of the best: Rex Burningham. Kip Christensen. Ernie Conover. John Jordan. All of these instructors share their knowledge and lead by example. These videos will inspire you to become a better wood turner. These videos will be worth your money and time, so go check them out! You can also share your own projects with Facebook if you like the videos!
Rex Burningham
Rex Burningham wood turning videos are an excellent way to learn the basics of wood turning. The two turners are well-known for creating dozens of unique, tuned projects. They have more than fifty years experience. From spinning tops to intricate lidded containers, these DVDs cover everything from how to shape a spoon to turning an ornament display stand. These videos will prove to be invaluable in your collection. Continue reading to find out more about these amazing instructors.
Kip Christensen
Kip Christensen's videos on woodturning might interest you if you are just starting out in woodturning. They can help you make beautiful, functional gifts and furniture. Besides being entertaining, these videos are also great resources to learn more about woodturning. These videos often include tutorials from some the top woodturners around.
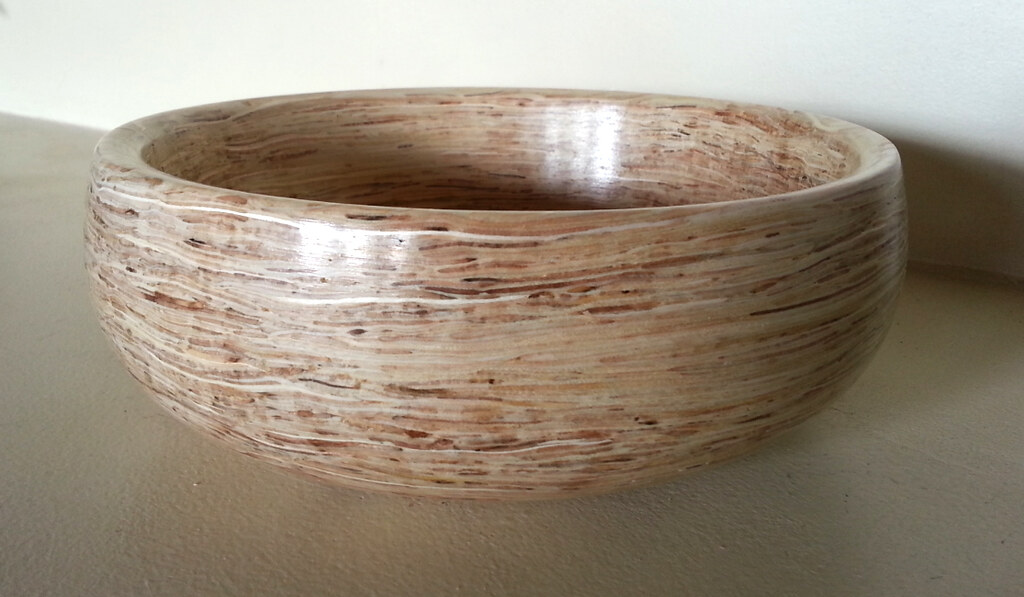
This book features 16 unique woodturning project ideas, from bowls and boxes to unusual sculptures. Each project comes with clear, concise instructions, step by step photography, and a few useful tools. The author walks through the steps of creating each project and shares his creative thinking to make it beautiful. This author will inspire you to take up woodturning.
Ernie Conover
Ernie Conover's video tutorials are a great way to learn wood turning. With more than 55 minutes of instructional videos, he provides you with everything you need to get started. Learn about the tools and techniques involved in turning wood. Turning for Furniture gives you an overview of the process, and opens up new possibilities for your projects. This 55-minute lesson allows you to enter Ernie Conover's workshop.
Ernie Conover also shows how to turn tools and equipment. These videos will show you how to use a lathe to turn and sharpen your tools. With his videos, you can make an oyster box, an end-grain vase, and a platter. Woodturning with Ernie Conover and Woodturning A Foundation Course are complementary. They provide detailed information on starting woodturning.
John Jordan
If you're considering buying a John Jordan wood turning video, you've come to the right place. This international woodturning master has taught in eight countries and throughout the US. His work is in the collections at major museums and corporations. You can learn all about his technique from this collection of videos. This video and any other John Jordan wood-turning video can be purchased to start your journey. You can also find videos of him covering many topics.
This DVD starts out with a discussion about the basic safety measures you should observe while working with wood. The DVD then discusses the different tools that are available. The video then shows how to make a basic cylinder and how to make fillets and beads. John also demonstrates a variety of turning tools. Once you are comfortable with the various tools, then you can begin to learn the art of turning. It is possible to create a stunning woodworking object.
FAQ
Is there anything else I should know about woodworking?
It's easy to underestimate the amount of work involved in making furniture. The hardest part of the process is actually finding the right wood. There are so many wood options that it can be difficult to choose the right one.
Another problem is the fact that not all wood has the same properties. Some woods will warp and others will split or crack. Before purchasing wood, you should consider these factors.
What is the average time it takes to finish furniture?
It depends on what size piece of furniture you have. You can finish smaller projects, such as boxes or picture frames, in one day. Larger projects like tables and desks take many days. It takes time and effort to properly stain the wood.
How much should a Woodworker Charge per Hour?
The hourly rate for a professional Woodworker will vary depending on many variables, such as experience, skill level and availability.
The average hourly rate for a skilled woodworker ranges from $20-$50 an hour.
A woodworker with less experience may be able to charge $10 an hour.
Statistics
- In 2014, there were just over 237,000 jobs for all woodworkers, with other wood product manufacturing employing 23 percent; wood kitchen cabinets and countertop manufacturing employing 21 percent. (theartcareerproject.com)
- Most woodworkers agree that lumber moisture needs to be under 10% for building furniture. (woodandshop.com)
- Overall employment of woodworkers is projected to grow 8 percent from 2020 to 2030, about as fast as the average for all occupations. (bls.gov)
- Average lumber prices rose about 600 percent between April 2020 and May 2021. (familyhandyman.com)
External Links
How To
How to stain hardwood
Staining wood is the process of applying chemicals to the wood's exterior, which alters its color. This chemical reaction causes the wood color to change from white and brownish red. Although oak is the most popular type of wood to stain, there are many other types that can be used.
There are many ways to stain wood surfaces. You can mix the stain with a solvent, such as turpentine, and spray it onto the wood. Another method involves applying a solution of water to the wood. You can mix stains into varnishes or paints to make them part of your finish coat.
Preparing the surface is the most important step in staining wooden surfaces. Clean the wood to get rid of any grease, dirt or other substances that might be detrimental to the stain's application. Sanding smoothens any scratches or rough spots. The next step is to choose the stain type you want. There are two basic kinds of stains: penetrating stains and non-penetrating stains. Penetrating colors penetrate deeper into wood than those that are non-penetrating. This makes them more suitable for darker colors, such as mahogany. The best non-penetrating colors are those that work with light colors like maple.
After deciding on the type of stain, you want to apply, prepare your tools. You can use a paintbrush to apply stains. This allows you spread the liquid evenly over the surface. To remove any stains left behind after painting, you will need some rags. If you intend to mix the stain yourself you will need enough containers to hold all the components.
After you have prepared your materials, clean the area you intend to stain. To remove dirt and dust, use warm water and soap. Wipe the entire piece of furniture with a rag dampened with clean water. Be sure to get rid of all loose material, especially if staining is planned for darker wood.
Next, spray the stain. Begin at one end and spray or brush the stain on the wood. Move slowly and carefully along the grain of your wood until you reach its opposite end. You must be careful not to allow the stain to drip off the wood's edges. Allow the stain to dry completely before you move on to the next step.
Apply a clear polyurethane sealant to protect the painted surface. Apply three coats polyurethane sealer. Allow the third coat of polyurethane sealer to dry overnight before applying the final coat.