There are many benefits to using a template routing aid to cut out the shapes that you want on plexiglas. This tool can be used to quickly create complex designs using the router. This guide will provide information about the top templates as well as their features. Also, you'll learn about Festool plungers, Flush trim and pattern bits. You'll be ready for anything once you have these tools.
Festool Plexiglas Template Routing Aid
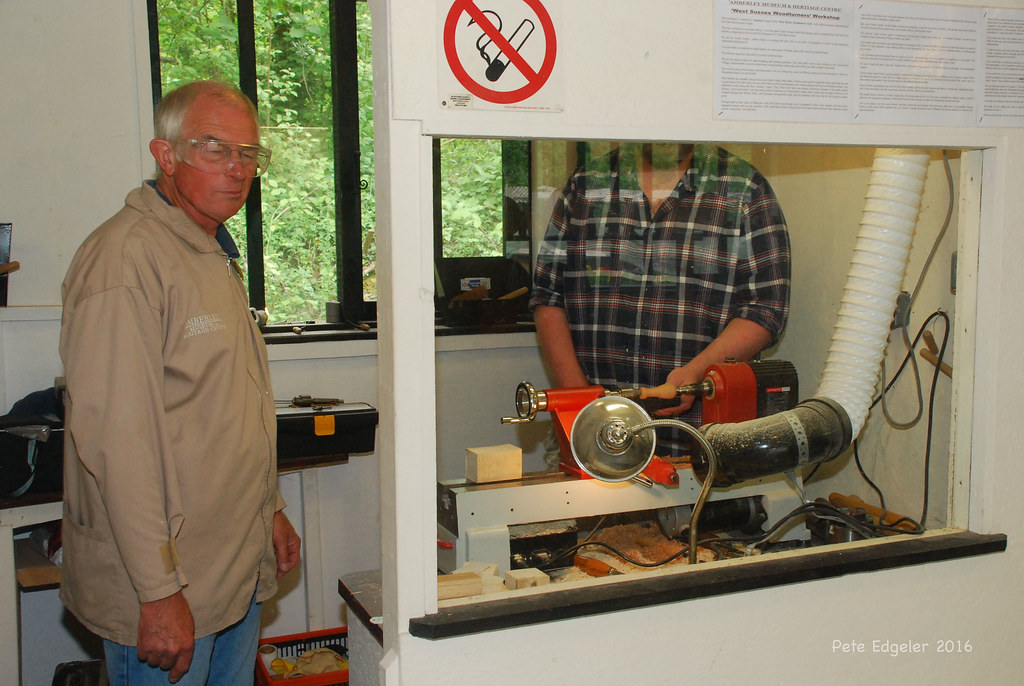
A Plexiglas Template Routing Aid is a great option if you are considering buying a Festool Tool. This tool's advantages include measurement guides and dust extraction. You might not find these features important. You may not use it enough to justify its price. You may choose a simpler option in such situations.
Festool Plexiglas Templaterouting Aid is a multi-purpose tool that can be used in a variety of ways. It can cut slots, holes, and mortises. It features two adjustable fences for varying thicknesses of materials, and an integrated rule for creating grooves. The Festool Plexiglas Template Routing Aid works well for all types of projects, no matter if you're making a decorative or a framed item for your home.
Festool plunge routers
A popular choice for homeowners searching for a basic template tool is the plunge router. They are lighter than other tools, easier to use and have a smaller footprint. They can be used on hardwoods, such as oak and maple. You can choose from a variety of plunge routers. The power, plunge depth and angle of the plungers will vary. For more information on each type, click here.

Plunge routers come with many accessories, so you can create any shape, circle, or other pattern you want. The dust collection system for plunge routers is essential to ensure that the bit does not become clogged with debris. A template jig can be attached to the plunge router so that it can make perfect circles. These jigs are great for many purposes, including painting or sanding.
Flush-trim bits
A flush-trim tool is best if you need to cut veneers or laminas flush with your workpiece's edge. These bits have a bearing at their base that runs along the workpiece. The bit's sheering action causes material to fall flat so that it can be cut cleanly. Think of a paper shear: the base material acts like the table, while the down-cut bit is a long curved blade.
A woodwork shop needs flush-trim bits. They can be used to cut veneers, laminating, and for shelf edging. These bits can be used to join straight and smooth edges. These router bits are some of the most used in our shop. You might want to purchase more bits if your plans include making multiple pieces. The flush-trim bits are a good combination.
Pattern bits
A template routing tool that uses pattern bits to make repeatable patterns is called template routing. They have a ball bearing in the middle that allows the template to be held on the workpiece and used with the router bit. They are a great choice for many applications. These are just some of the advantages of pattern bits. They can be used to improve visibility and provide you with greater control over your project. These bits are also compatible with handheld routers.
Combination bits feature bearings at both tip and shank. This reduces the need for you to change bits for different templates. They come in straight or compression sizes. These bits can be equipped with over/under, flush-trimming and pattern bearings. These router bits are more expensive than the spiral bits but leave a smoother finish. Combining a bit with a bearing guided template is best for the best results.
Climb cuts
You may have heard the term "climb cuts" when you are trying to make a wood template. These are cutting methods that use a spiral-shaped cutter to make clean and precise cuts along the grain. However, these can cause damage to the wood and can result in chipping and tearout. For those who aren't sure how to do climb cuts in your template routing, keep reading. For intricate patterns, climb cuts are best left for last.
A climb cut is the reverse of a normal feed. The bit rotates in opposite direction to the feed. Instead of resisting the material the cutter attempts accelerate it in the opposite direction to the wood. If this isn't done correctly, the cutter can grab the work and pull out the work with incredible force and speed. Climb cuts can be used to minimize tearout, as the bit enters or exits the cut face.
Adjustment between router bit und template
The offset is the distance between a router bit's cutting edge and a guide. This distance can be calculated by multiplying the bit's diameter by the diameter of the guide bushing, and then dividing by 2. This table lists the most common offset values for router-bit and guide-bit combinations. Be aware that not all offset values are equal. Some may be too large and others too small. The offset in the following example will be 1/4".
The offset between router bits and template routing usually is about 1/8” or 0.35". This offset is crucial because it ensures that the bit fits into the bushing if it isn't perfectly centered. The result is that a template may be misaligned and lopsided, making it hard to route. Adjusting the offset can fix this. If you want to rout mortises, adjust the offset between templates to match your profile.
FAQ
What would be your first step in woodworking?
Start with softwoods, such as pine or poplar. Once you feel comfortable with these two, move on to hardwood.
Where do I start with woodworking?
The best way to learn how to build furniture is by building furniture. While you will need tools and make mistakes, you will eventually master the art of building furniture.
Start by choosing a project you'd like to complete. You could make something as simple or complex as a box. Or you could build a whole entertainment center. Once you have chosen a project, locate a local woodworker who is skilled in this kind of work. Ask him or her for advice on what tools you'll need and where to find them. Ask if you can find someone who does this kind work.
What wooden items do you sell well?
Most wooden items that are best-sellers are made from wood harvested sustainably.
The most popular types of wood for furniture include oak, maple, cherry, mahogany, walnut, and teak.
These woods are extremely strong but also have beautiful colors and grain patterns. They are also very durable if properly maintained.
Wooden furniture should always be painted first to protect against moisture damage. This applies to all surfaces, even drawers and doors.
You want your furniture to last as long as possible so you need to choose a paint that is water resistant.
Use a high-quality, oil-based primer and two coats of topcoat. Depending on how much wear you expect, you might need to apply more coats of topcoat.
Avoid spray cans and aerosol paints. These products contain solvents which evaporate quickly and leave behind harmful fumes.
Is it easy to start a woodworking business?
Starting your own woodworking business isn't easy. There are many laws and regulations you need to be aware of. This doesn't necessarily mean that you should go through all the work of setting up a company. Many people choose to join existing businesses. This way, you only need to pay membership fees and taxes.
Can I make my living doing this job?
Yes! Many woodworkers do. According to the U.S. Bureau of Labor Statistics in May 2012, the median annual income for woodworkers was $34,000 This is much higher than the national median of $31,000 per annum.
Do you have the skills to learn woodworking?
You can learn everything best by doing. Woodworking takes practice, skill, patience and experience. Any craft requires patience to master.
You can learn the most effective way to master a skill is by actually doing it. So start small and build on what you have learned from there.
How much do hobbyists need to invest in starting a business?
To start your own woodworking company, you will likely need capital to purchase the necessary tools and other supplies. Start by getting a small circular saw saw, drill press or circular saw. These items aren’t too expensive so you won’t have to break the bank.
Statistics
- Woodworkers on the lower end of that spectrum, the bottom 10% to be exact, make roughly $24,000 a year, while the top 10% makes $108,000. (zippia.com)
- If your lumber isn't as dry as you would like when you purchase it (over 22% in Glen Huey's opinion…probably over 10-15% in my opinion), then it's a good idea to let it acclimate to your workshop for a couple of weeks. (woodandshop.com)
- Most woodworkers agree that lumber moisture needs to be under 10% for building furniture. (woodandshop.com)
- In 2014, there were just over 237,000 jobs for all woodworkers, with other wood product manufacturing employing 23 percent; wood kitchen cabinets and countertop manufacturing employing 21 percent. (theartcareerproject.com)
External Links
How To
How do I accurately measure wood?
There are many methods for measuring wood. We use a digital ruler (a tool to measure distances), laser level (used for leveling your work surface), and bubble level (used for levelling your work surface).
Two jaws are available on a digital scaler. One can open and the other close. The one jaw holds the object to be measured, while the other measures distance between them. The digital scale is perfect for measuring tiny distances such as wood thickness.
Laser levels emit an infrared laser beam that projects a straight line across the floor. The laser emits a red dot on the line. You can check if the surface is level by looking down at the line. Laser levels are ideal for checking the accuracy on large surfaces.
Bubble levels look similar to a compass. There is a bubble at the center of this device. As long as the bubble remains centered, the device can tell you if the surface has been leveled. The bubble levels can be used to check the accuracy of smaller areas.