
This article will explain the basics of woodturning inlay. It also covers materials and how to maintain them. We will use a rotary-tool handlepiece and a 1/16 inch upcut spiral bit to create a mortise or inlay. Read on to learn more. It's easy to do! You will probably find this simple but rewarding project enjoyable. Woodturning projects are incomplete without inlay.
Techniques
Inlay techniques are an important part in any woodworking project. Inlays can enhance the piece's aesthetics and add depth to it. There are many methods to create beautiful inlays. Each of these has its own advantages. This article will provide a guideline to the various methods. Read on to discover more! You will need to prepare the wood. Use a paper towel or damp rag to clean the wood. To remove dirt and other residue, you might want to use mild dish detergent. Be careful when using chemicals, as they can damage the wood. You might also consider hand tools for removing wood.
Inlay techniques can be applied to other materials. You can use inlay techniques to other materials, such as stone, metal and wood. Inlaid pieces are a great way to create contrasting images when used correctly. There are many inlay tools available, including knives, fixtures, and jigs to secure inlayed components in place. You can inlay the wood before or after it is turned. Once you've turned the piece, you can add inlay materials to the top or bottom.
Materials
A wide range of inlay material options can be used to enhance the visual appeal of your object. You can use inlay materials to cover many kinds of recesses including those caused by the lathe, natural cracks and voids within wood. Inlay materials are also used in certain cases to cover screw heads and brad nail locations. These are the steps to create beautiful inlays.
The first step to creating an inlay is choosing a material. This is why some materials are better suited than others. It is easier to cut delicate pieces with resin inlay than other materials. Also, it fills in the voids left after mortises have been made. You can also find resin in many colors that can sometimes be quite magical. These are some tips on how to use resin for inlay.
Installation
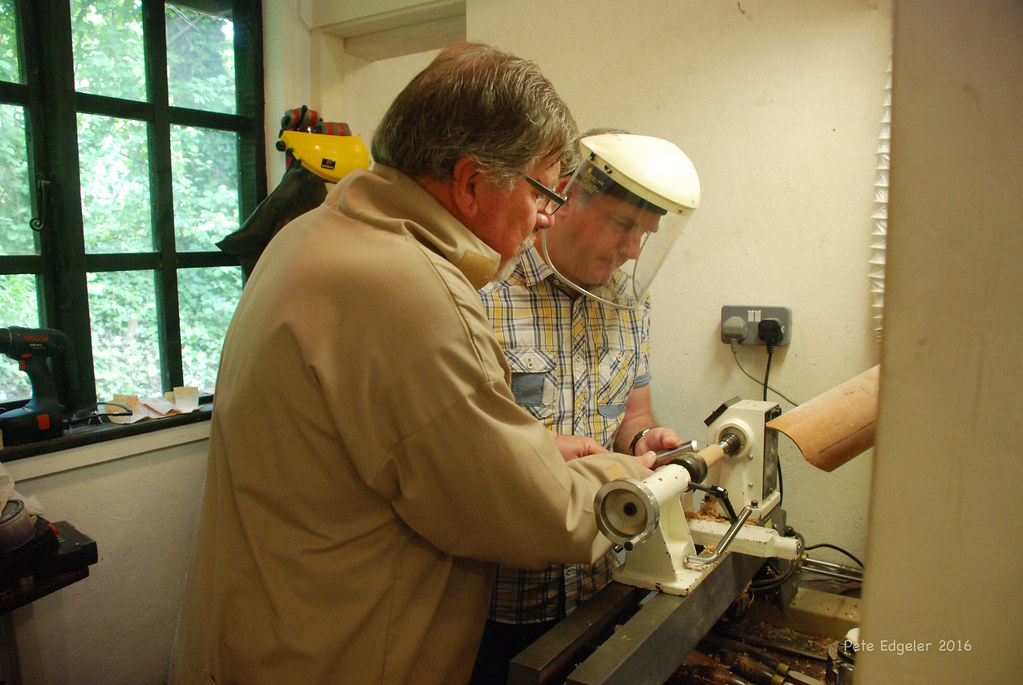
Inlay work, a decorative element used on turned wood objects, is called inlay work. Ron Hampton provides detailed instructions for woodturners on how to inlay woodturning. He shows the process of installing inlays on bowls, tops, and bottoms. He explains safety guidelines and the importance of precision in the process. This adds an unique touch to wood turnings. Woodcraft offers a variety of inlay bands.
First, prepare the base for the woodturning insert. Use a plunge router for best results. Attach the template guidance to the router base. Press the bushing in the right position around the guide collar. Place the inlay on the base and ensure it is flat. It will be easier for you to install the inlay because of its angled edges. Installing the inlay will be easier if you use a router that has a bit that is slightly larger than the size of the mortise.
Maintenance
Care and maintenance of woodturning inlay involves a few simple steps. Clean your inlay thoroughly before you place it in your woodturning job. This is especially important when using CA glue for stone inlay, as the fumes can be hazardous. If you have a small space, you can also use a 3/16" allen wrench to gauge the depth of the inlay. Sand your inlay down to 120grit. This will prevent scratching.
FAQ
What's the difference?
Hobbyists enjoy creating things out of wood. Professionals tend to focus on the quality. Hobbyists tend to take pride and share their creations with family and friends. Professionals will spend hours researching designs and then begin to create a project. They will pay attention to every detail, from selecting the best materials to finishing the project perfectly.
How do you know which tools are the best for you?
It helps to reflect on your needs and preferences before you shop for tools. Do you prefer metal or plastic handles? What size screws or nails do you prefer? Do you prefer hand tools over power tools?
How much should a Woodworker Charge per Hour?
The hourly rate paid to a professional woodworker is dependent on many factors. These include skill level, availability, and location.
An hourly wage for skilled woodworkers is between $20 and $50.
A woodworker with less experience may be able to charge $10 an hour.
What kind of wood should you use?
There are many wood types that are used in woodworking, including oak, maple and birch. Every type of wood is different and can have a unique look and feel that will affect the final product. Oak tends to be harder and darker than other woods. Birch is light and soft, while mahogany can be heavier and more dense. You also have the option of solid wood or veneers. Veneers can be described as thin sheets of wood that have been glued together in one layer.
Where can I start woodworking?
The best way to learn how to build furniture is by building furniture. You will need tools. There are bound to be mistakes. But if your persistence is consistent, you will soon master the craft.
Begin by choosing the project that you want to finish. It can be something as simple and small as a box, or large-scale as an entertainment center. After you have decided on a project to work on, contact a local woodworker that specializes in this type of work. Ask the local woodworker for help in deciding what tools and where to get them. Ask if you can find someone who does this kind work.
Statistics
- Woodworkers on the lower end of that spectrum, the bottom 10% to be exact, make roughly $24,000 a year, while the top 10% makes $108,000. (zippia.com)
- The U.S. Bureau of Labor Statistics (BLS) estimates that the number of jobs for woodworkers will decline by 4% between 2019 and 2029. (indeed.com)
- If your lumber isn't as dry as you would like when you purchase it (over 22% in Glen Huey's opinion…probably over 10-15% in my opinion), then it's a good idea to let it acclimate to your workshop for a couple of weeks. (woodandshop.com)
- Average lumber prices rose about 600 percent between April 2020 and May 2021. (familyhandyman.com)
External Links
How To
How do you accurately measure wood?
We use many methods to measure wood. We use a digital ruler (a tool to measure distances), laser level (used for leveling your work surface), and bubble level (used for levelling your work surface).
Two jaws can be opened and closed on a digital caliper. One jaw holds the object being measured and the other measures the distance between them. The digital calculator is ideal for measuring very small distances, like the thicknesses or wood.
Laser levels use an infrared beam of light to project a line across the ground. The laser emits a red dot along the line. It is possible to see if the surface of the surface are even by looking down at it. For large surfaces, laser levels are the best way to check their accuracy.
Bubble levels look similar to a compass. There is a bubble in the center of the device. As long as the bubble remains centered, the device can tell you if the surface has been leveled. Bubble levels are great for checking the accuracy and precision of smaller areas.